12/15/08
Remodeling a post-war prefab cabin isn't easy. First of all, the walls are seriously only a couple of inches thick. There is no room for insulation, and trying to hang drywall on walls that don't have standard studs is an exercise in patience. I literally had to drill small holes every inch or so to find a "stud", only to find that it was a DIAGONAL cross piece.
The very first thing we did was to put a porch on. I say "we" loosely. Bob and Terry did the porch. . Here's what it looked like when construction began:
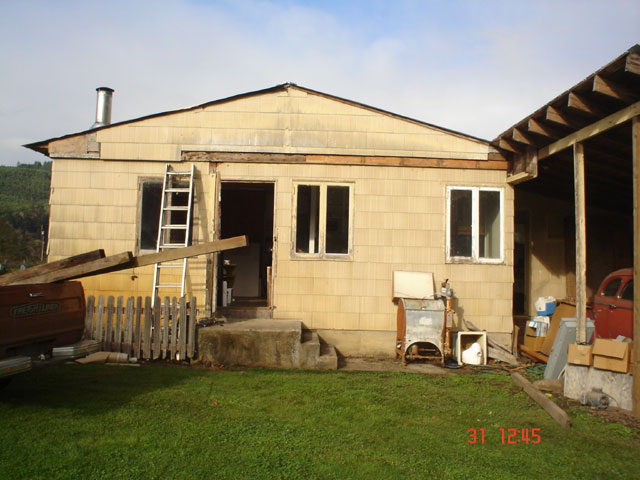

Still not pretty, but it now has a front porch. Thanks, guys!
Starting on Rowan's room...
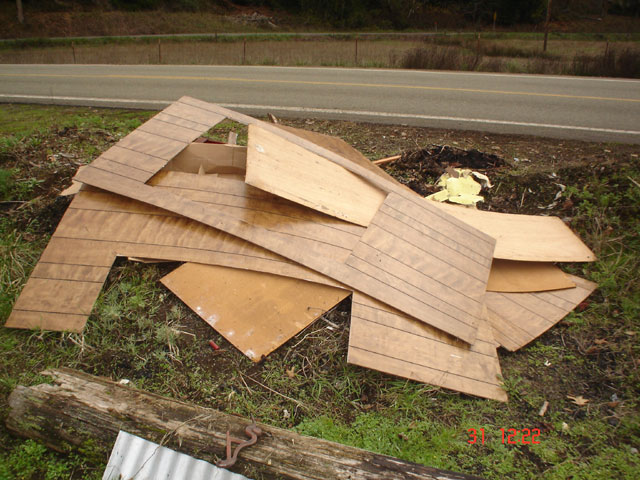
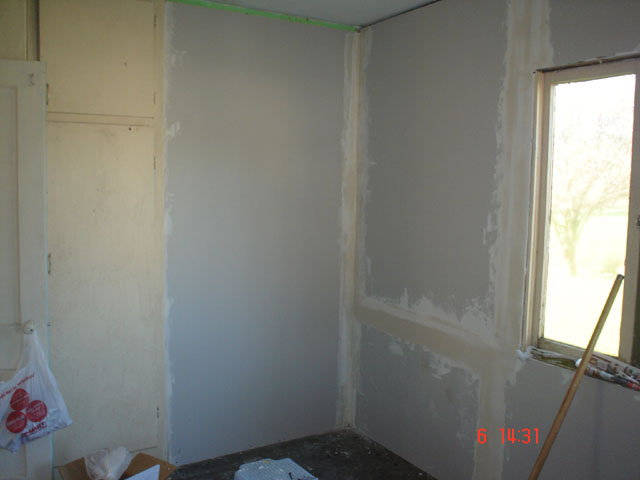
This was the first room I started working on. It was covered in old wood paneling, behind which hundreds of slow, hiberating flies were living.
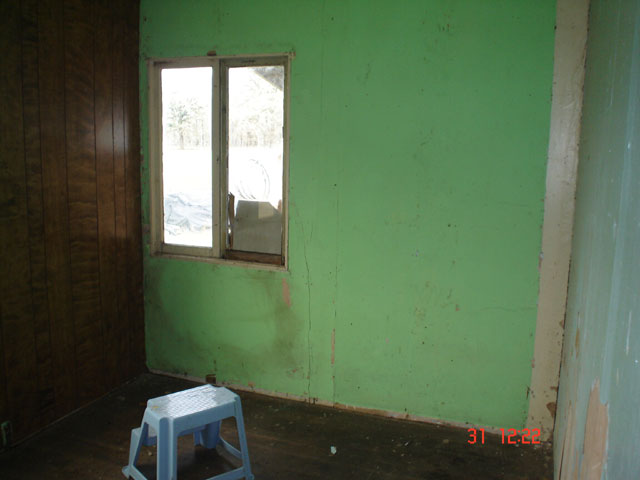
Yuck. So I tore down the paneling and washed the walls down with vinegar to kill any mildew.
 '
'
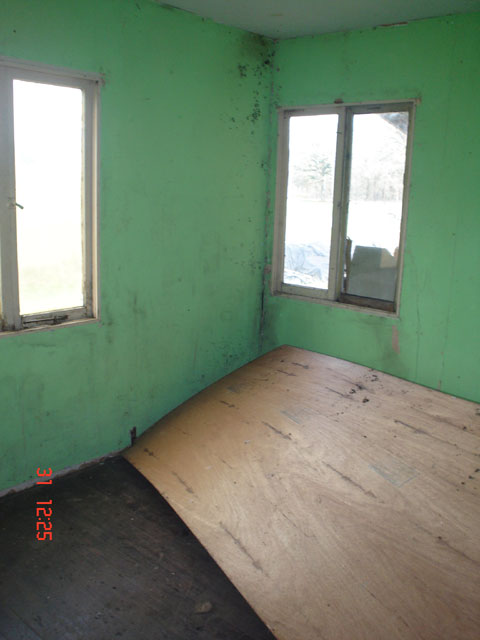
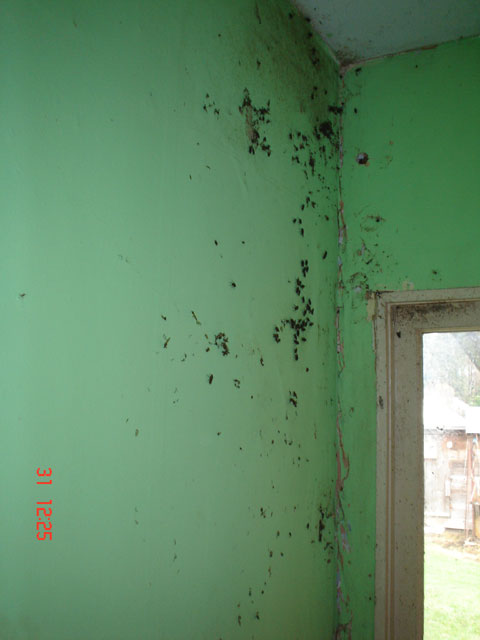
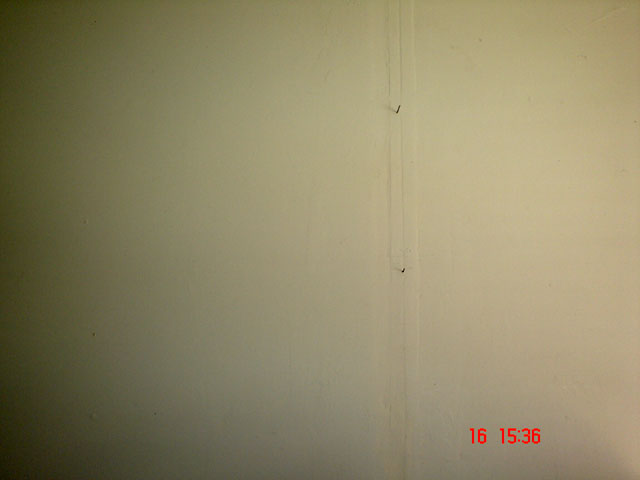
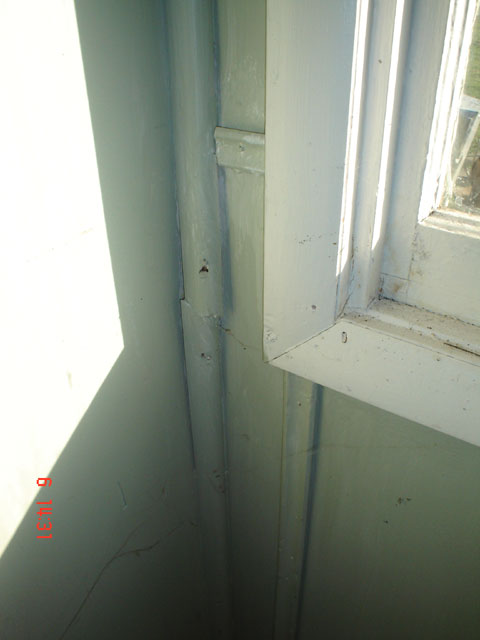
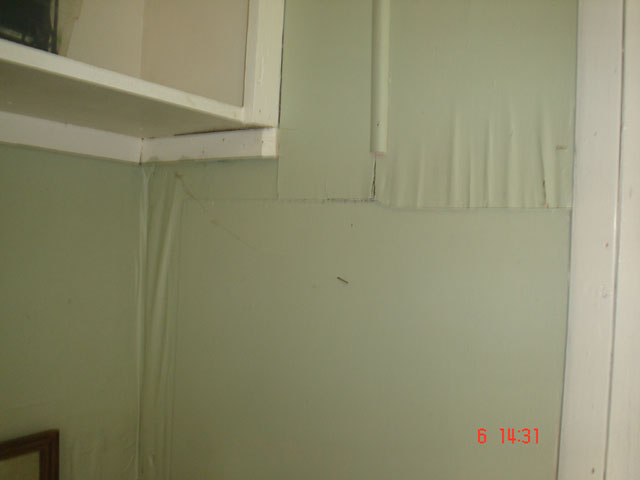
Once the paneling was on the burn pile, I felt a little better. Except for the fact that the walls were a mess (which is what happens when they've been there for almost 60 years, I guess). Time for drywall. Here's a couple more pics showing how bad the walls were:


I was worried, of course, about lead paint and any number of other things that might affect Rowan's health, so I decided that every inch that she could reach needed to be covered with fresh drywall.
Since there is no insulation in the walls, I decided to cover the interior walls with roofing paper prior to installing the drywall. Hopefully, it will act as a moisture barrier and prevent any mildewing, etc.
Drywall begins! It looks better already!


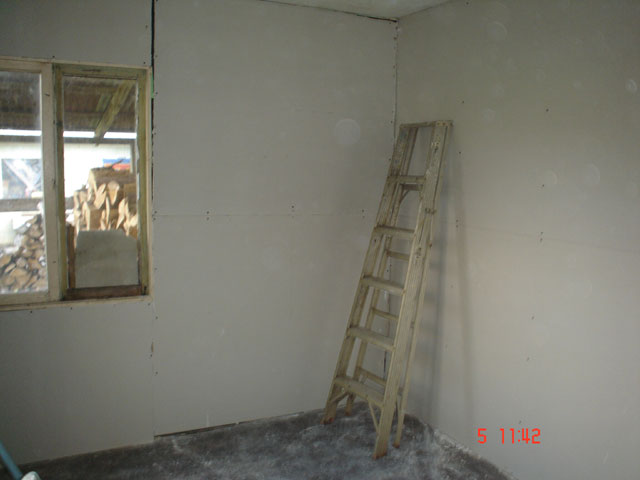
I ended up with a few gaps, but that's what joint compound and tape are for.
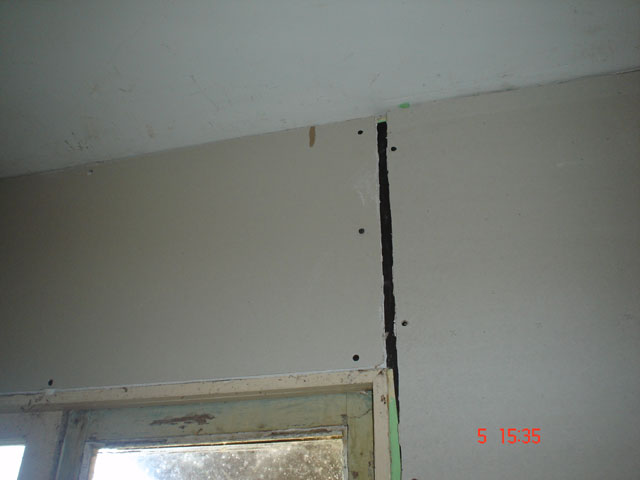
Notice in the above picture the piece on the right... I had to jack it up to get it to meet the wall on the top portion of the drywall, since the wall was bowed and crooked.
Once the drywall was up, I started mudding and taping.
In the pic below, you'll see me filling the cracks before taping. It was really difficult to get the drywall just right... some spots on the floor and ceiling were higher and lower, or some places in the corners bowed out, so every piece had to be custom fit. At one point, I'd lifted (by myself) an 8x4' sheet of drywall 4 feet up the wall to sit on top of the other one (I have NO idea how I found the strength to do that) and it got STUCK on a part of the ceiling that was hanging down. Getting that sheet back down to adjust it for the ceiling clearance was almost impossible without damaging it.
Then there was the fact that I had to contend with a lack of studs where there should have been studs or a complete lack of anything to anchor the dryall to in the corners at times. Note the many, many screws punched into the drywall, trying to find something to anchor to.


I've only done drywall once before, on two other rooms in this house, and I've found that my skills have improved considerably since then. (see below)
In my last drywall job, the tape is visible. I didn't realize that there was a more extensive process to smoothing butt-joints. I'll be redoing those when I work on that room.
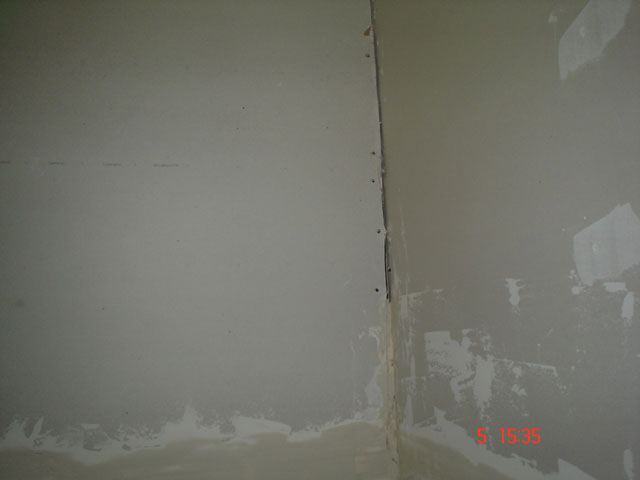
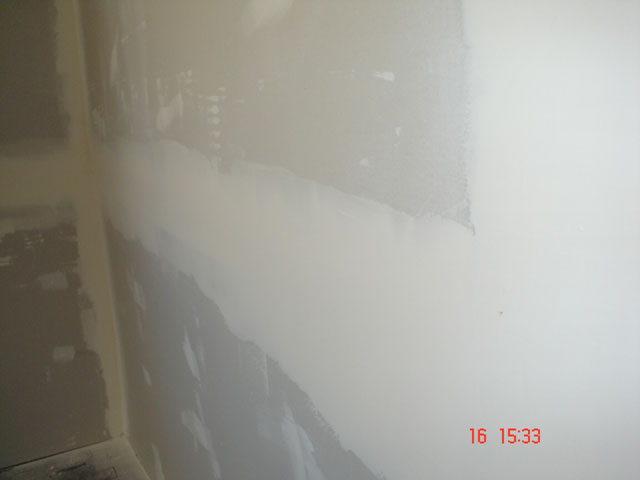
The previous photos show the point in the drywalling process at which mud and tape have been applied to the butt joints and a first coat has been applied over the tape (a two-step process covering two days to allow the first coat to dry). After sanding, I applied another coat of mud with a 12" knife, and feathered the edges. After sanding that, the joints will be invisible when painted and should be as smooth as the untouched drywall.

Notice the width and smoothness of the joint compound. I'm proud of my butt joints now.

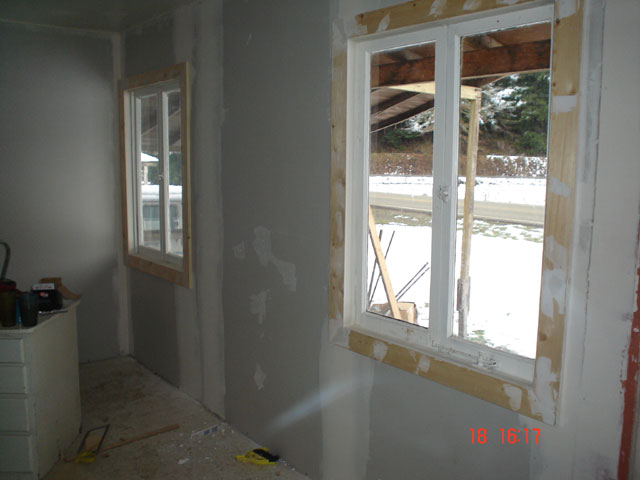
The next step was window and ceiling trim.
I ripped the 1/4" lathe on the table saw usinga miter saw.

I ripped the lathe you see at the ceiling out of 1"x4" pine. For the window trim, I used 1"x4"s again, and cut them at a 45 degree angle on the power miter saw. (It was a lot easier this time. Last time I did window trim, I used a hand saw with a miter box and my arm got sore.) Have I mentioned that I LOVE power tools?!?!?! The trim makes the windows look bigger, and makes my mistakes at the edge of the drywall disappear.
I got somewhat stuck on my progress in this room for the time being, because I can't do the floor trim until I rewire the house. So I moved on to the kitchen.

Here it is. No appliances, no power (none in the entire cabin... I work from an extension cord). Wood paneling and plywood again, painted this time, with little pieces of plastic trim everywhere the paneling meets. Have a laugh... it's on me.
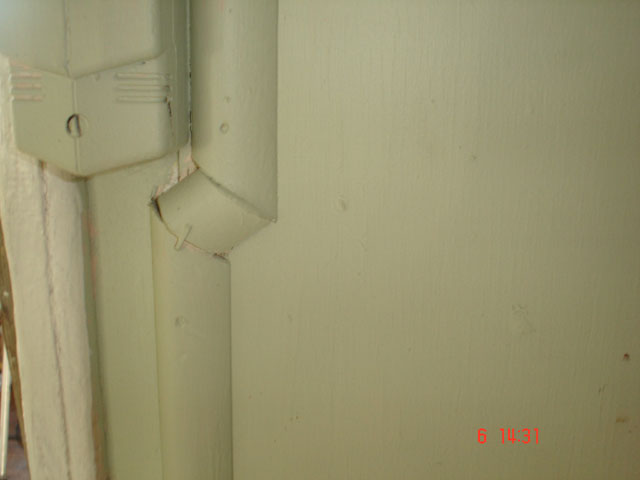
I especially like the "custom" fit and the staple in that one.
Gorgeous finish work, huh?
My first task was to rip ALL of that horrid trim off. So I did. I like the DEstruction part almost as much as the CONstruction part. Gimme a crowbar and a hammer and lemme at it!
I left the paneling and plywood, because it had been secured tightly to the walls, and except for the one spot above it didn't appear to have any issues with moisture. I figured it would be easier to drywall over, since I'd have SOMETHING to anchor to if I couldn't find a stud. It was MUCH easier.
So, I started drywalling again.

I found that it was a lot easier to install the drywall VERTICALLY in this cabin, rather than horizontally. It allowed me more margin for error when taking into account all of the funky measurements, plus I figured out that I can "walk" an 8' sheet up the wall by myself, so I don't need assistance. I muscle it in a leaning position onto the wall, then get between it and the wall and grab it from both sides, kind of "piggy-backing" it until I get it almost upright. Then I scrunch out from between the drywall and the wall and shimmy it up into place. Usually, I've forgotten to grab the power drill and screws, so I end up dodging for those, quickly letting go and then grabbing the darned thing before it crashes down on my head! :D
Don't get me wrong... Bobbie's always ready and willing to help, but I like to do as much as I can by myself. It's a rewarding feeling. So he leaves me be unless I holler for help. :)

Here are the kitchen walls after mudding. I still have one final sanding job to do on them.

My next job is to do the trim in the kitchen. I can only work on half of the room... I have to tear out the makeshift plywood "wall" that would be behind the counter to gain access to the only REAL wall in the house with studs. Bob and I will be doing wiring and plumbing in there. I still can't do the floor trim yet either... have to wire in the outlets first. This cabin necessitates a lot of creativity, since the walls aren't "normal".
In order to avoid "scabbing" on the electricity throughout the house (meaning, running it through conduit on the VISIBLE portion of the inside walls), I have to crawl under the house and into the attic next week. (Yuk. I'll be setting off a bug bomb first...) I'll be running 2 circuits under the house (12/2 with ground) for the outlets, plus 8-gauge for the range and 10-gauge for the water heater and dryer. The fridge will require its own 12/2 circuit as well. I've learned a lot about electricity in preparing for this remodel. I now know which gauge wire goes with which amp circuit breaker. It's important, too. If your breaker is too big for the wire you're using, the breaker won't flip and you can start a house fire. So I've been doing a lot of research to make sure we get this right. :)
Then, up in the attic, I'll be running 2 circuits of 14/2 w/ground for the lights. I've had my head buried in wiring diagrams lately... trying to wire in a light and switch in the middle of a circuit is a complicated procedure but one I think I've finally wrapped my brain around.
The wiring, both top and bottom, will be "punched in" through the floor and ceiling. It's pretty much the same way they wired the house originally, since the walls don't have studs or any clearance to speak of in order to run wiring THROUGH them. When I come down from the ceiling with a light switch, we have pieces of wood trim that are routed out that will cover the wiring. The floor outlets consist of thin profile plastic outlet boxes that will be mounted low on the walls and will be "hugged" by 1"x4" trim, which will prevent them from sticking out.
Anyway, I think we've got it all figured out. I've never done wiring before, so this will be very educational by the time it's all said and done.
Stay tuned, and I'll update more pics as stuff gets done! :)
Got the kitchen window trim done...
There were so many levels and layers of trim around the kitchen windows, I decided to install the trim level with the interior sill and then fill the gaps with mud to create a nice, level casing around the windows. Here's a pic of the mudding in progress:

The next order of business was to begin on the wiring for the lower circuits in the house.
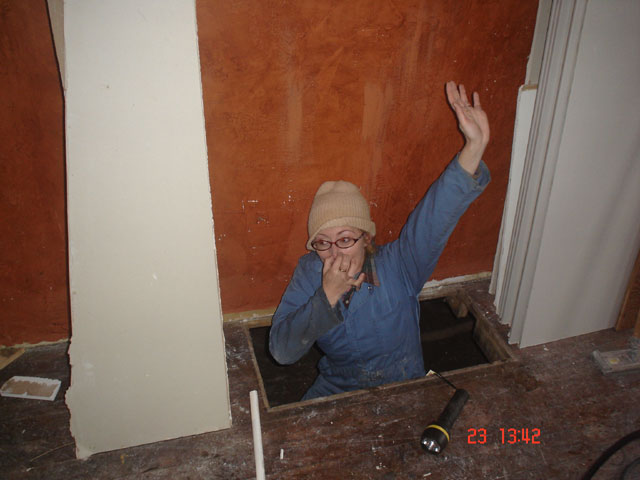
Bob pulled an old electric heater out of the floor and created a crawlspace conveniently located in the center of the house's floor plan.
I poked my head down there to take a look at the job I was least looking forward to... crawling under the house.
What greeted me was... well... disturbing.
I quickly decided that I did NOT want to go under the house with SOMETHING THAT EATS SPIDERS.
Silly me... it's only their BABIES eating them. Well. That's different then.
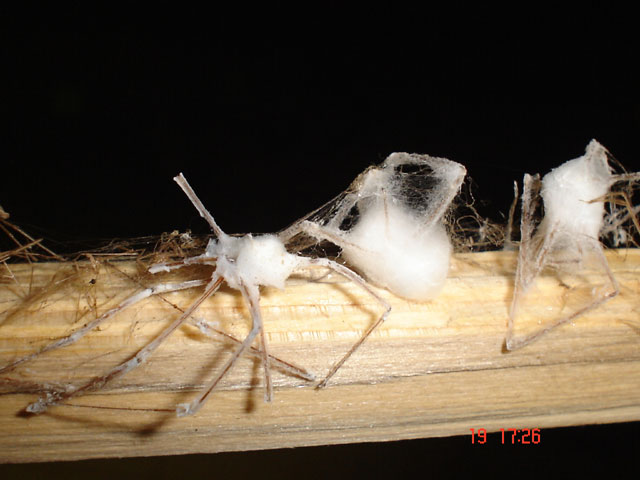
These gigantic, revolting arachnid corpses were hanging right by the entrance to the underworld. I'm not quite sure what's happening here. It appears that the females may have built the eggsac around the males in order to feed the brood. Males are supposed to be the smaller of the species, I'm thinking... and these would have been nearly four inches across, leg tip to leg tip, while crawling.
I kept wondering what the females must look like.
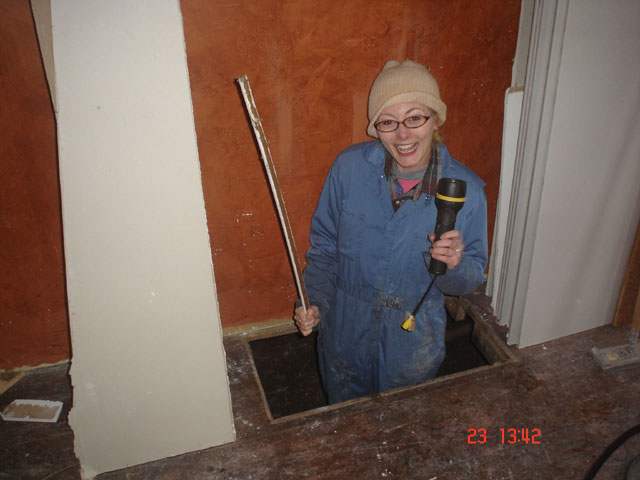
Despite my reservations about my eight-legged friends, I took the plunge today. Hopefully, the bug bombs worked...
Armed with my flashlight, a high-tech-de-cobbwebbing device (also known as trim), and some good humor, I took a deep breath and dove in.

It really wasn't do bad once I got under there. At the top of the following pic, you'll see some of my exsanguinated spidey friends hanging from the floor joists.

Talking to Bob through the floor boards while he was clomping around over my head was a little creepy. It was even worse when he was outside the vent and I was under the floor. Bob took a picture through the vent. Not a whole lot of headroom under there. Especially under the stringers.

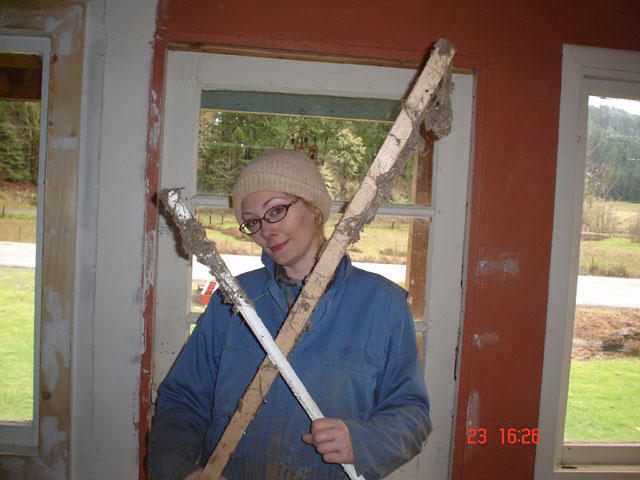
We got all of the wires strung for the first circuit, though. And I came back with a couple of sticks worth of housekeeping souveniers. Ew.
When it was all said and done, I was really proud of myself, though. I battled the spider-infested underworld and won.
Well... at least until next week, when I have to go back and run two more circuits for the rest of the house, plus separate ones for the dryer... and range... and water heater... and the phone lines... and the cable...
More updates soon. :)
Whew! Lots of work happening!
Once all of the drywall was done in Rowan's room, I decided to texture. I didn't want to use a sprayer, since covering everything with plastic would take forever, so I got a stucco loop roller. Boy, what an interesting project! I had to smear a thin coat of joint compound onto the walls with a putty knife, then roll over it. It took forever.
I did Rowan's room first, then the walls in my room, then the living room.
I was going for a sort of "orange peel" texture, and got fairly close, I think:

Here's Rowan's room with the walls all done, after primer and a coat of white paint on the ceiling and lavendar on the walls:

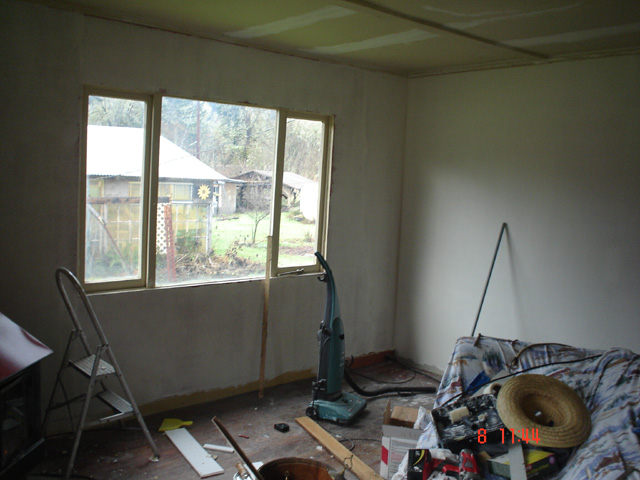
I did the same thing to the walls in my bedroom/office/studio (yes, I'm going to have to cram all three into a tiny room! :)). Here's a look at the room before texturing:

Here's the after shot:

I can't finish the floor trim until I've wired in the outlets.


Next, I moved on to the living room. Have a look at the wall BEFORE sheetrock!

Here's that same wall (on the right), after drywall and texture:
Pardon the mess! :D
The rest of the living room during texturing. Notice the bright red enamel stove. I also have an eggplant couch. Try to choose a paint color... I dare you!

This is the lovely hole in the ceiling. I have to make it disappear. Luckily, it's right over the rafters, so fixing it is a breeze...

First, I cut the hole relatively square. Then, I measured it, and cut a piece of sheetrock to approximate the hole. Next, I held the piece up on the ceiling and used a pencil to outline it. After that, I cut away the excess with a razor knife, fit the patch into the hole and used drywall screws to secure it in place.


A little bit of mesh tape and some joint compound and you ALMOST wouldn't know it's there. It still needs sanding and a couple more coats of mud applied with a wide knife, but it's better than a hole! :)
OK... so have you decided on a color yet? One that'll go with a red stove and a dark purple couch?
TA-DA!
Here I am installing trim on the window. Note: When you're scrawny and your pants fall down anyway, a tool belt doesn't help matters. It's supposed to be more efficient, but I think I spent more time pulling up my britches than anything else!

More trim! It's taking shape, slowly but surely.

AND... onto the wiring.
Here is the absolutely ABSURD way I'm forced to wire this house, since the walls don't have studs like normal walls. I got low-profile boxes and cut into the drywall to help recess them. 1'x4" trim will take up the excess on the outside...

I nailed small pieces of lathe into the hole to shim it just right.

The first outlet is IN!!! :D

Think you've seen it all? Not a chance! Check out page TWO!
Autumn